Linen Challenge

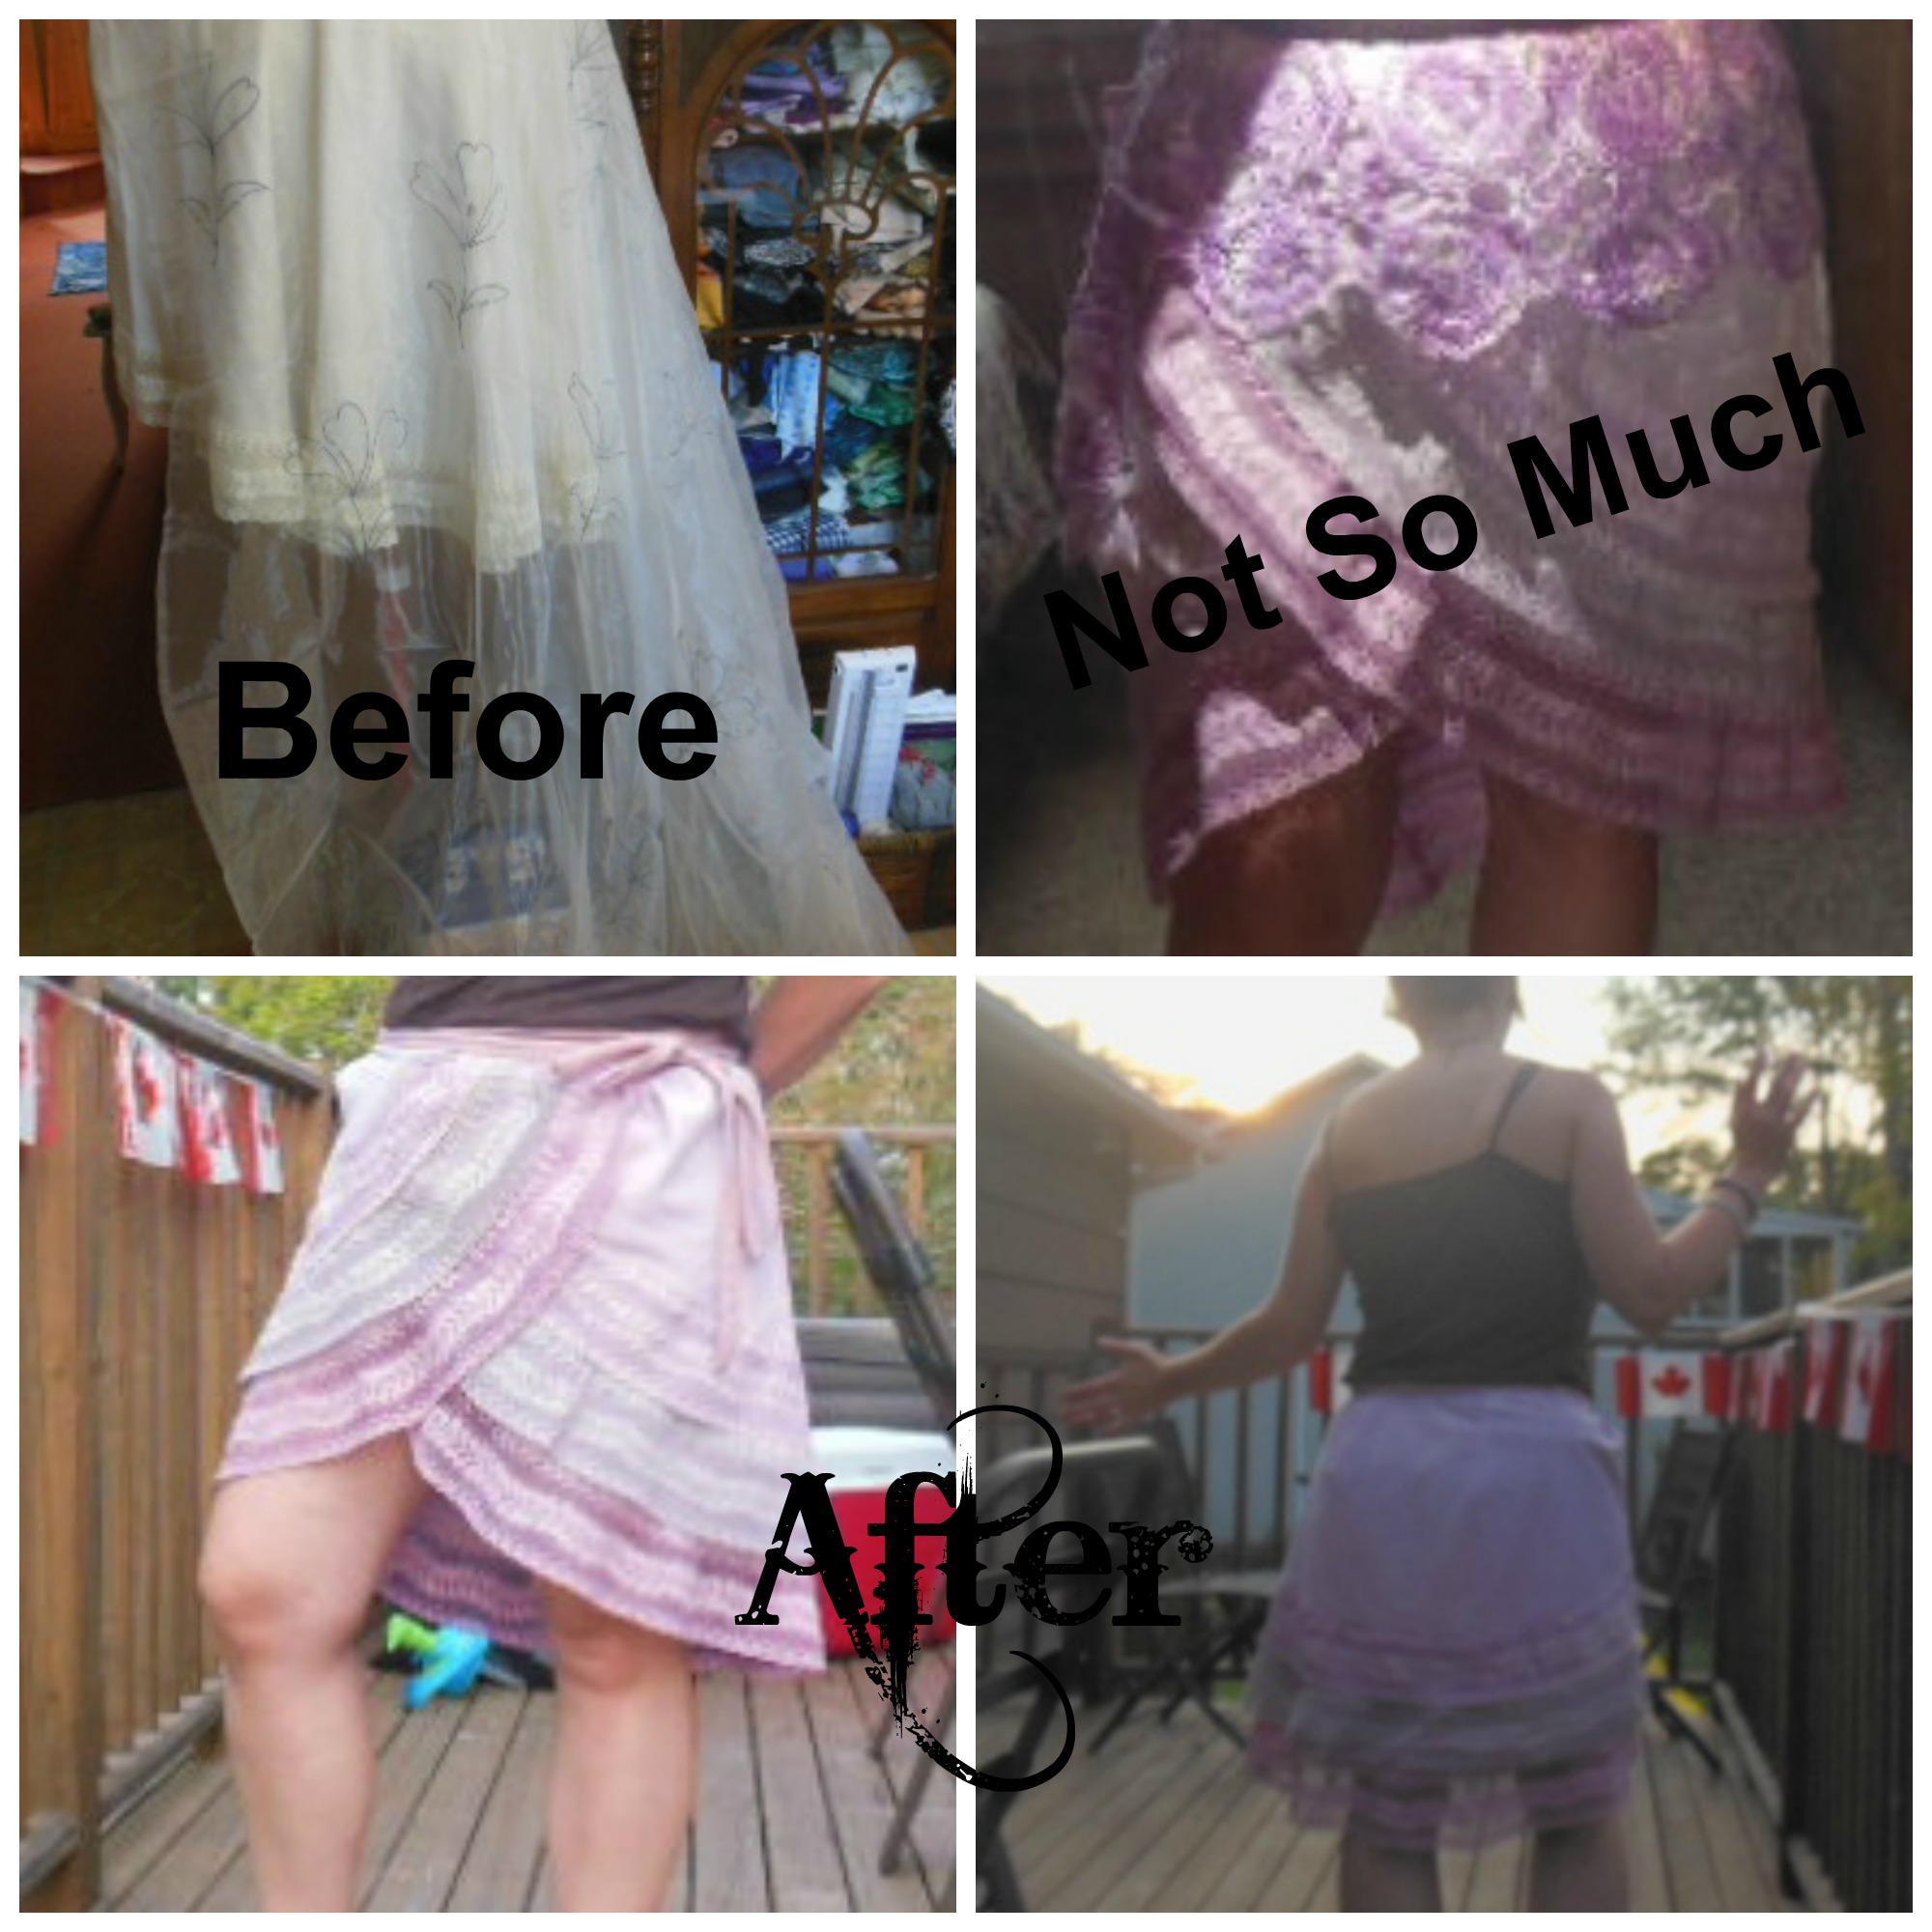
I recently took part in a linen challenge, which was to take any linen, or combination there of, and turn it into something new. Well I tried really hard and was not in the least happy with how it turned out. But I didn’t give up, and managed to save it. I have to tell you it is comfortable and I enjoyed wearing it, but I have not been looking forward to blogging about it. Who enjoys telling about their failures??  Plus the weather is starting to stay nice here, which makes it even harder to sit down and type….at least that is the story I am sticking too…..

I started with an oval cotton table-cloth with a wide lace trim, a sheer curtain panel with an outline of a flower and a purple crochet doily. The basis of what I wanted to do with it was sound….the outcome less so. *big sign* well, here goes nothing….

The starting linens...

The starting linens…

and the doily.

and the doily.

At the oval ends I cut out two wrap skirts, making one a whole lace width smaller. I then cut out two layers of the curtain using the smaller piece as the guide. Lastly I removed the lace off the rest of the tablecloth.

First up was dying the tablecloth/skirt. I picked two shades of purple. I used a technique that I have used before and like the look of. It uses ordinary acrylic paint, and gives a slightly variegated look. I dilute the paint with lots of water, place the fabric in the wash and lift and push and stir and poke until the entire piece of fabric is covered. Just let it sit for a while, usually around 30 minutes, and than rinse with cold water until running clear. Let dry and iron. I have used then method on smaller pieces and have found it works fine, if you like the slightly variegated/tie-dyed look. You need to make sure you use enough water or it will be stiff.

linenpaint

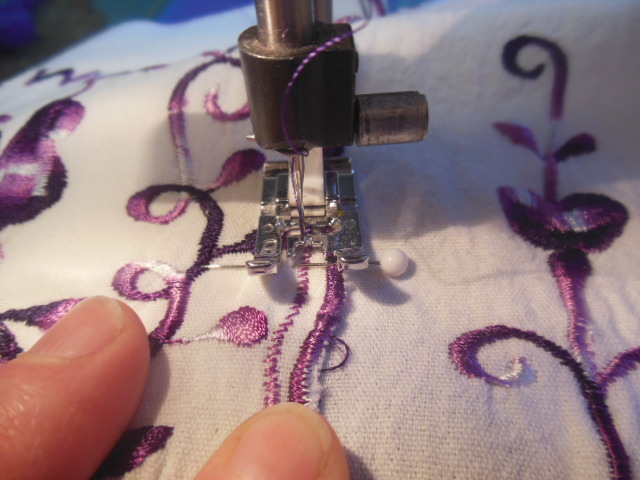
Which brings me to mistake number one….painting one of the lace layers. I used a silver acrylic paint, but did not dilute it enough….it was standing on its own when it dried! I soak it in water, scrubbed it, soak it some more, add rubbing alcohol to the water and scrubbed scrubbed it more. Finally I removed enough paint that is was flowy again.

To much paint leaves it standing at attention. aargh

To much paint leaves it standing at attention. aargh

I then sewed to lines down the center of the lace doily and cut it apart. I used the leftover tablecloth to make the waist band.

sewing and cutting

sewing and cutting

I took the left over laced, which I also dyed and sewed it to the curved bottom of the curtain fabric. I then laid all the layers down and basted them together. Here was my second mistake…not trying the skirt of for looks…would have saved a lot of disappointment.

Lining up the lace and basting it all together.

Lining up the lace and basting it all together.

The two pieces of the waistband were sewed together with the lace doily between them. This was opened up and iron down , with the doily to the front, and the top edge edge-stitched. The front waistband was sewed to the skirt, being careful not to catch the doily. I then sewed the inside waistband down, following the seam-line of the front band, sewing the doily down at the same time.

Working on waistband #1

Working on waistband #1

OMG!!! Fits the hips and huge on the waist, so I threaded elastic through the waistband. Much better. Then added the closures and tried it on again. Not bad, but so so SO not me….plus it made me feel like all you would see was hips!

Front view, take one

Front view, take one

DSCN3882 (208x427)

Side view, take one

I put it aside for a few days and thought about what I could do with it. It took a few days before burning it wasn’t the first answer. I removed the waistband/doily. I played around with the idea of removing a single layer of curtain, but decided to remove both. I took the lace off the curtains and sewed it to the top layer of the skirt, just above that layer of lace.

Next was the shaping. Darts in the back helped, but it needed more, so I did a series of tucks in the front, as well as on each lace strip so that it would fit into the new waistband better.

Back darts....

Back darts….

and front tucks.

and front tucks.

There was enough tablecloth left to do the waistband and ties. I had since dyed it with a white dress, but the color works well with the skirt. After attaching the waistband and ties, and put in a buttonhole for the tie.

I left the tie ends with the raw edges from their old tablecloth days.

I left the tie ends with the raw edges from their old tablecloth days.

Now it fits much better, and is so much less bulky than before. I really like it now.

Front view, take two

Front view, take two

Back view, take two

Back view, take two

I hope my errors will help someone know where to go right when they try this. Every error is a chance to learn, or try, something new.

linen

Turing a Dress into a Bodice Top

I purchased a traditional Mexican dress last year. I picked it out because it had purple embroidery (of course) but it turned out to be too big for me.

Seems big...

Seems big…


Way too big!!! It Floats.

Way too big!!! It Floats.

But I still loved the embroidery and wanted to make something I would wear out of it. It took a year, but I finally figured out what I wanted. I had played around with ideas, but I was losing too much of the embroidery. I settled on the bodice overtop from Simplicity costume pattern 4940. I copied the pattern pieces needed. I use examination table paper; the paper you sit on in doctor’s office.

Plain Jane back.

Plain Jane back.

After opening the two side seams of the dress, I folded the front in half. I then laid the pattern piece for the top portion of the bodice, making sure to not cut into the neckline. This made for a higher/thicker neckline then the pattern called for.

I folded in half and matched the neckline, then laid the pattern piece down.

I folded in half and matched the neckline, then laid the pattern piece down.

The bodice piece, cut out.

The bodice piece, cut out.

Next was the waist portion. Here I used the rest of the heavy embroidery on the shoulders. I sewed the shoulder sections together, matching the embroidery. The scalloped edge of the dress ended up running length-wise down the front. This made the piece more squared than rectangle, so I added to the sides using some of the front of the dress with the smaller embroidery design. I laid these pieces under the scalloped edges and sewed them together with a zigzag stitch, over both the scalloped edge and the zigzag stitch already on the dress.  Laying this sewn section flat, I placed the center of the waist portion pattern on the center seam line of the built-up fabric. By doing this I ended up with a mirror-image section.

DSCN3824 (376x418)

Making the most of the embroidery.

DSCN3827 (640x480)

Sewing pieces together to get a piece big enough for the waist section.

The back of the garment contains  a center zipper between two solid (from the shoulder to the hip) pieces. I used the skirt section of the dress front and in that way used the little embroidery designs again.

This fabric is very light weight and a little sheer, so I cut every pattern piece (for lining) using the back of the dress. I then basted all the top and lining pieces together. I saved the scalloped edges of the dress for future use; I wanted to use as much of the embroidery as possible and am hoping that my idea on that will work…..

Lining the bodice piece with fabric from the back of the dress. I zigzagged the edges and trimmed off the excess.

Lining the bodice piece with fabric from the back of the dress. I zigzagged the neckline and trimmed off the excess.

First was sewing the front pieces together. Here I cut a strip of the scalloped edged that was around 1 1/4 inch wide and sewed it between the bodice top and waist. I then zigzagged that down to the bodice waist.

DSCN3847 (640x480)

I used more of the edge of the dress when sewing the bodice to the waist piece.

Next was sewing the shoulders and sides. The shoulders were wider in the front; no surprise there as I ended up cutting the neckline bigger to retain the embroidery. I just made an inverted tuck to match the edges. No issues with the sides. After trying on I took the sides in a little for a better fit.

I used a combination of flower and leave machine decorative stitching.

I used a combination of flower and leave machine decorative stitching.

I finished the edges of the arm-holes and the back neckline with thin double fold bias tape. I used a combination of decorative stitches to stitch the bias tape down with variegated purple thread.

Finished back.

Finished back.

Zipper time.

The edges of the dress became the hem of the top.

The edges of the dress became the hem of the top.

For the hem I tried that idea I was thinking of to use the scalloped edge, and it worked!! I cut strips of the edge around 1 1/2 inches wide and sewed them together for a long strip. This I sewed to the bottom, and then turned the seam up and stitched down so the seam would stay up in place.

Finished and gorgerous.

Finished and gorgeous.

I love my new Mexican top and am looking forward to wearing to Mexico some time soon.

Mexician Dress